
How To Install Window AC Unit In Apartment
Install Window AC
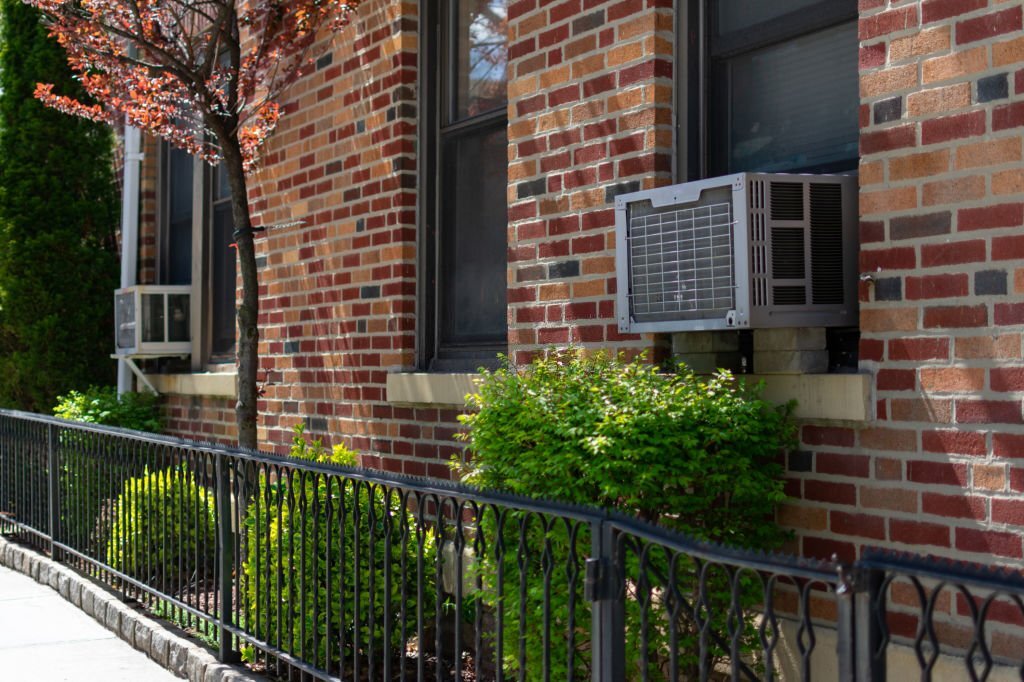
Window air conditioners were designed to be plug-and-play devices that would keep you cool without requiring you to make holes in your walls. The fact that most models fit in typical double-hung windows is one of the qualities that make window air conditioners a popular option.
For apartments, condos, and rental properties where house remodelling is prohibited, a window air conditioner is the best model type. Even without expert assistance, installing a window air conditioner is not too difficult, and once it is installed, all you need to do is plug it in to begin using it.
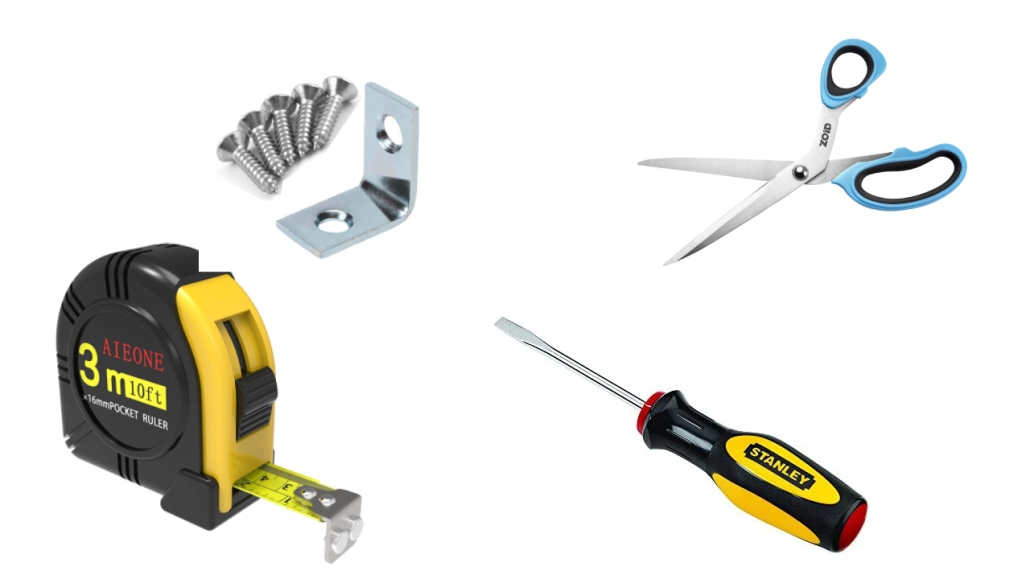
Before Starting, Tools That You Need:
Given that many window air conditioners have power lines that are 5 to 6 feet long, pick a window that is close to an outlet. Any outlet you pick must have the cable. Additionally, the owner’s handbook must be carefully followed.
- Scissors
- Measuring Tape
- Screw Driver
- Manufacturer-supplied screws and brackets
Window Preparation For The Air Conditioner
Preparing the window is the first step in installing a window air conditioner. Open the window entirely (from the bottom) and take off the screen before removing anything from the window sill. To provide the AC unit with a handy spot to rest without setting it on the floor, it’s also a good idea to position the stool or seat close to the window. Be cautious to evaluate your alarm sensors because certain alarm sensors may interfere. It may be necessary to remove them for the time being.
Understand The Window Type and Orientation
It’s crucial to know what kind of window you have since not all window types can accommodate window air conditioners. You cannot install a window air conditioner in a sliding window or a casement that opens outward. The best windows for window air conditioners are double-hung windows, which have a bottom pane that glides up and down and an upper pane that does not.
If you put a window air conditioner in a window that faces south or west, it will get the majority of the day’s direct sunshine. In that situation, a window air conditioner won’t be able to handle the added heat. Furthermore, the unit’s efficiency can be reduced by 10% by strong direct light. If possible, place your window air conditioner in a window facing east or north, away from direct sunlight. Also, take into account the direction of the rain. Does it rain directly on your window? When necessary, you may also cover your window air conditioner to shield it from the sun and rain.
Think About Energy Efficiency
The Energy Efficiency Rating, or EER, of a room air conditioner serves as a measure of its energy efficiency. By dividing the unit’s BTU rating by its watts, the EER is obtained. A 12,000 BTU air conditioner with 1,200 watts of power, for instance, has an EER of 10.
Ratings for window air conditioners normally range from eight to twelve. For reducing your utility expenses and saving electricity, a rating of 10 or more is preferable. Additionally, keep an eye out for features that might aid in power conservation, such as digital temperature controls, adjustable fan speeds, and sleep settings.
Select Your Unit
Select your unit next. There are several contemporary types available, ranging from high-powered ones for big rooms to those that conserve energy and are environmentally friendly. Additionally, certain units could include built-in air purifiers. Based on your preferred brand, model, and spending limit, select a window air conditioner. Your dimensions will come in helpful in this situation. To choose the best window air conditioner type for you based on the size of your window and the size of your room, speak with a reliable vendor. Make sure the model you buy has adequate space for your space.
Prepare Your Window By Opening It
Activate the window. Install a weather strip right away if one was supplied by the manufacturer. When you install or remove the AC, these strips help stop any air from leaking through microscopic crevices and guard your window against any harm. These weather strips won’t be present on all models, but your AC will still function.
Attach The Side Panels
On your unit, slide the panels into the proper position. After fully sliding them in, use the supplied screws to fasten the adjustable panels to your window AC. To prevent gaps that might let warm air, allergies, and pollutants into your house, tighten all the screws.
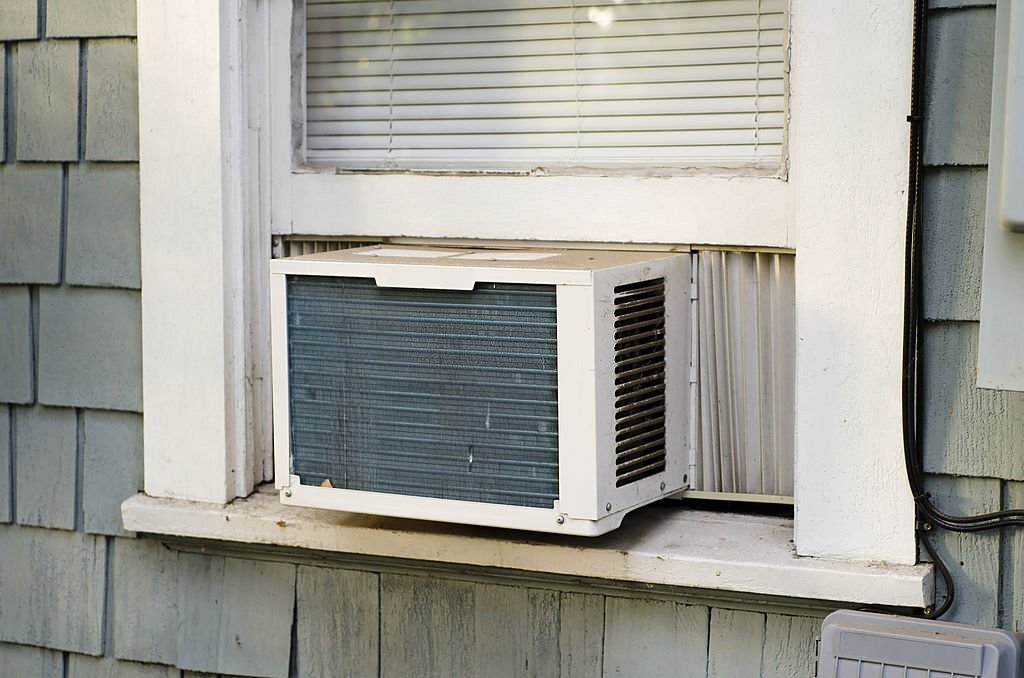
Set Up The AC Unit
The bottom rail should be inserted into the slot on the bottom sill as you carefully lift the unit into the window. Slide the glass behind the top rail to secure the unit in place. The weight of the device will hold it in place if it is securely fastened.
Put The Locks In
Put sliding window security locks on the window panel’s top edge. By doing this, you can prevent the window from being knocked out of place and the unit from falling. This will also make it impossible for outsiders to slide the window open.
Extend The Panels
The window padding should be added to the sides of your open window if it is available. If your model didn’t come with cushioning, you may reach your window by simply extending the side panels. Use the screws that were supplied by your manufacturer to secure both side panels to your window.
Protect The Device And Begin Cooling
Only a few manufacturers offer the brackets and screws needed to attach the AC to the interior window sill. Though some manufacturers deem it unnecessary, this is an additional layer of security. However, screw them in right away if they are given.
All done! Connect a plug and start the air conditioning. Your room should start to chill instantly.
Other Related Posts:


Leave a Reply
Want to join the discussion?Feel free to contribute!